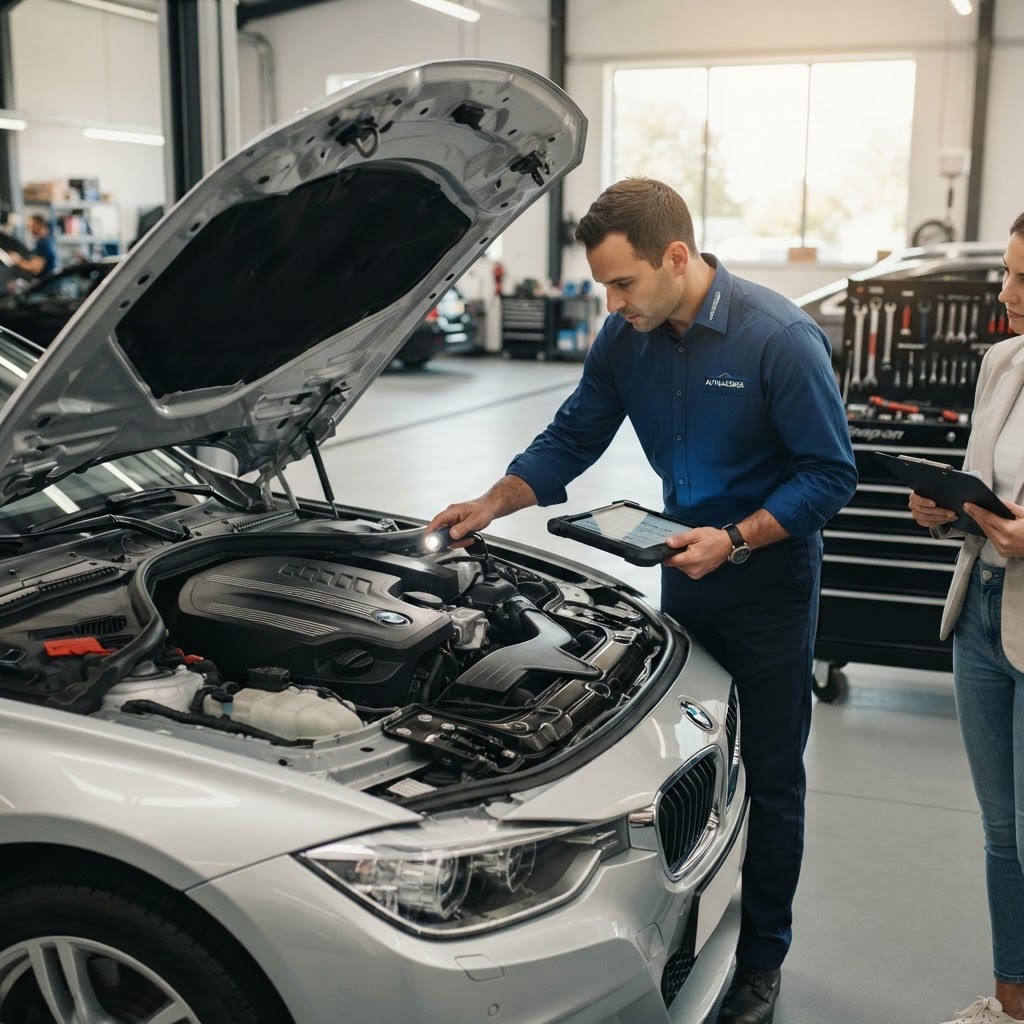
Learn how to inspect a used car before buying with RIZQ's expert 12-point checklist. Spot hidden issues, verify value, and protect your investment.
Buying a used car is one of the largest financial decisions most people make outside of a home purchase. Yet too many buyers — and even lenders approving loans — rely on a clean Carfax report and a quick walkaround before committing thousands of dollars. The truth is, a vehicle history report tells you what happened to a car; a proper physical inspection tells you what the car is right now.
After years of inspecting vehicles for buyers, credit unions, and lenders across the country, we've developed a systematic approach to used car inspections. This guide breaks down exactly how to inspect a used car before buying — whether you're a private buyer, a dealer, or a loan officer evaluating collateral.
Why a Pre-Purchase Inspection Matters
A vehicle history report can miss rebuilt titles masked by VIN washing, undisclosed frame damage, flood exposure that wasn't claimed through insurance, and mechanical wear that simply never generated a paper trail. A physical inspection by a trained eye catches what databases cannot.
For lenders and credit unions, an independent inspection protects the loan-to-value ratio. A vehicle that looks like an $18,000 loan may actually be a $12,000 car once mechanical and cosmetic defects are accounted for. For private buyers, an inspection is the difference between a smart purchase and a money pit.
The 12-Point Used Car Inspection Checklist
1. Walkaround and Panel Alignment
Start 10 feet away from the vehicle. Look down the sides in good lighting for ripples, mismatched paint texture, or panels that sit slightly proud or recessed. Gaps between the hood, doors, fenders, and trunk should be even on both sides. Uneven gaps often indicate prior collision repair.
- Check paint color match between adjacent panels — slight metallic flake differences signal repainting.
- Run a magnet (or a small fridge magnet) along body lines; it won't stick to areas repaired with body filler.
- Open and close every door, the hood, and the trunk. They should latch with consistent effort.
2. Tires and Wheels
Tires tell a story. Uneven wear — feathering, cupping, or excessive wear on the inside or outside edge — points to alignment issues, worn suspension, or bent steering components. All four tires should be the same brand, size, and load rating, with tread depth above 4/32" for safe wet-weather driving.
- Use a tread depth gauge or the penny test.
- Check the DOT date code — tires over six years old should be replaced regardless of tread.
- Look for curb rash on wheels and cracks in alloy rims.
3. Under the Hood (Engine Off)
Pop the hood before the engine is warm — a seller trying to hide a cold-start issue may have warmed it up before you arrive. With the engine off, inspect:
- Oil: Pull the dipstick. Oil should be amber to dark brown, not milky (coolant intrusion) or gritty.
- Coolant: Should be bright green, pink, or orange — not rusty or oily.
- Transmission fluid (if dipstick-equipped): Red or pinkish, not brown or burnt-smelling.
- Battery: Look for corrosion on terminals and check the manufacture date sticker.
- Belts and hoses: Squeeze hoses — they should be firm, not spongy or cracked. Belts should have no glazing or fraying.
- Frame rails and strut towers: Look for wrinkles, fresh undercoating, or welds that appear non-factory.
4. Cold Start and Idle Quality
Start the engine from cold. Listen for knocking, tapping, or diesel-like clatter that fades as the engine warms — often a sign of worn lifters or timing chain issues. The idle should smooth out within 15-20 seconds. Watch the exhaust: blue smoke means oil burning, white smoke that persists suggests coolant, and black smoke indicates a rich condition.
5. Dashboard and Electronics
Turn the key to the "on" position without starting. Every warning light — check engine, ABS, airbag, traction control — should illuminate briefly, then turn off once the engine runs. A seller who has cleared codes will have the check engine light off, but a scan tool will still reveal pending codes. Always bring an OBD-II scanner or have one run during the inspection.
- Test every window, lock, mirror, seat adjustment, and HVAC mode.
- Check the infotainment screen for dead pixels or lag.
- Verify the backup camera, parking sensors, and blind-spot monitoring function.
6. Brake System
Through the wheel spokes, inspect brake pad thickness — anything under 4mm needs replacement soon. Look at the rotors for deep grooves or a bluish tint (overheating). During the test drive, brake firmly from 40 mph in a safe area; the car should stop straight without pulsation, pulling, or squealing.
7. Suspension and Steering
Push down firmly on each corner of the vehicle. It should rebound once and settle. Bouncing indicates worn shocks or struts. During the test drive, find a parking lot and make tight, slow circles with the wheel fully turned — listen for clicking (CV joints) or groaning (suspension bushings). The steering wheel should return to center smoothly after turns.
8. Test Drive Dynamics
A 15-minute test drive across city streets, highway speeds, and rough roads reveals more than any static check. Pay attention to:
- Vibration at highway speed: Often tire balance, but could be drivetrain.
- Transmission shifts: Should be smooth, no flares, clunks, or hesitation between gears.
- Clunks over bumps: Worn sway bar links, control arm bushings, or strut mounts.
- Tracking: On a flat road, the car should hold a line without constant steering correction.
9. Undercarriage Inspection
If you can't put the car on a lift, at least get underneath with a flashlight. Look for:
- Fresh undercoating that may be hiding recent repairs.
- Rust scale on frame members, subframes, and brake/fuel lines.
- Fluid leaks —区分ing normal AC condensation from oil, coolant, or transmission seeps.
- Crush marks on frame rails or tow hooks indicating past accidents.
10. Interior Wear vs. Mileage
Compare interior condition to odometer reading. A 60,000-mile car shouldn't have a worn-through steering wheel, cracked seat bolsters, and faded pedals — those patterns suggest far more use than the odometer shows. Smell for mustiness (water intrusion) and look under floor mats for dampness or staining.
11. Documentation and VIN Verification
Match the VIN on the dashboard, door jamb sticker, and title. Confirm the seller's name matches the title. Review maintenance records — a car with regular oil changes at proper intervals is worth more than one with no documentation, regardless of mileage.
12. Market Value Verification
Finally, cross-reference the vehicle's condition against valuation guides like Kelley Blue Book, NADAGuides, and recent comparable sales. Adjust for needed repairs you discovered — a $1,200 brake job and $800 in tire work should reduce your offer accordingly.
When to Bring In a Professional
Not every buyer has the tools, experience, or lift access to perform all twelve of these checks thoroughly. That's where an independent pre-purchase inspection adds real value. A trained inspector with a lift, scan tool, and diagnostic experience will catch issues that even a careful DIY buyer will miss — things like hidden frame damage, leaking rear main seals, or pending transmission codes that haven't tripped a check engine light yet.
At RIZQ Vehicle Inspection, we dispatch certified inspectors nationwide to perform comprehensive, lift-based evaluations and deliver detailed photo reports — often within 24-48 hours. For private buyers, that means negotiating leverage and confidence. For credit unions and lenders, it means protecting the asset that secures the loan. You can learn more or schedule an inspection at rizqvehicleinspection.com.
Final Thoughts
A used car can be a smart financial move — but only when you know exactly what you're buying. A systematic inspection turns a hopeful purchase into a calculated one. Whether you perform the checklist yourself or partner with a professional inspection service, never skip this step. The cost of an inspection is a fraction of the cost of the problems it can prevent.